
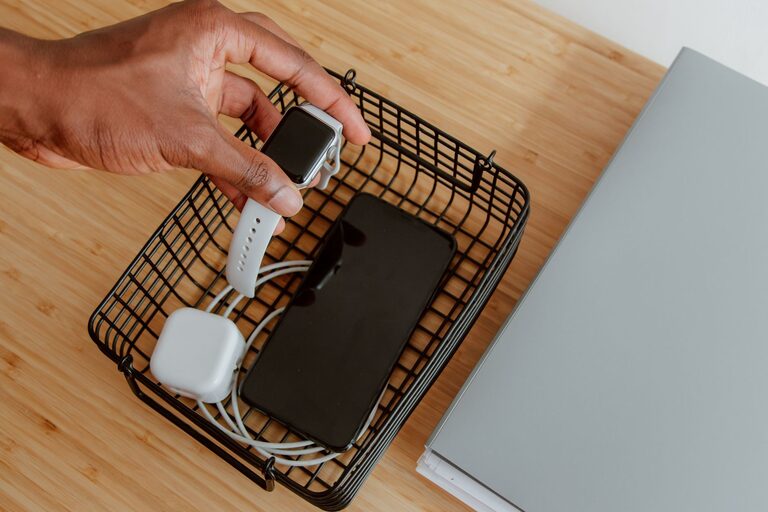
Creating a dedicated charging station for your devices is a smart way to keep your gadgets powered up and your space clutter-free. Whether you want a spot for smartphones, tablets, laptops, or other electronics, setting up a charging station can save time and help maintain your devices’ lifespan.
In this guide, we’ll walk you through everything you need to know to create an effective charging station at home or work, including tips on choosing the right location, organizing cables, and selecting the best equipment.
Why Set Up a Charging Station?
Having a central place to charge your devices offers several benefits:
– Reduces clutter: Keeps cables and chargers organized in one spot.
– Saves time: Quickly access and charge your devices without searching for cords.
– Protects devices: Avoids damage from tangled cables or improper charging.
– Improves efficiency: Helps maintain your gadgets’ battery health with smart chargers.
Step 1: Choose the Right Location
Selecting an ideal spot is the first step in building your charging station.
Consider Accessibility
Pick a location that is easy to reach and where you often use your devices. Common spots include:
– Kitchen counter
– Desk or workspace
– Living room side table
– Bedroom nightstand
Check Power Source Availability
Make sure your location has sufficient power outlets. You might need a power strip or surge protector if outlets are limited.
Ensure Ventilation and Safety
Avoid placing chargers near water or flammable materials. Allow space around chargers to prevent overheating.
Step 2: Gather the Necessary Equipment
Having the right tools makes your charging station efficient and adaptable.
Chargers and Cables
– Use chargers compatible with your devices (USB-A, USB-C, wireless).
– Opt for fast chargers if supported.
– Gather extra cables to accommodate guests or multiple devices.
Power Strip or Charging Hub
– A power strip with surge protection can provide multiple outlets.
– Charging hubs with built-in USB ports reduce the number of cables.
– Wireless charging pads offer cable-free convenience for compatible devices.
Organization Accessories
– Cable organizers or clips to keep cords tangle-free.
– Charging station boxes or trays to conceal devices and chargers.
– Labels to identify cables and chargers easily.
Step 3: Organize Your Charging Station
An organized charging area is easier to use and keeps your devices safe.
Arrange Devices by Frequency of Use
Place devices you use often in the most accessible spots.
Manage Cables
– Coil extra cable length neatly using Velcro straps or cable ties.
– Use cable clips to secure cables along surfaces.
– Consider charging docks that hold devices upright and reduce cable mess.
Create Zones for Different Devices
If you have multiple device types, create separate zones within your station. For example:
– One area for smartphones and earbuds
– Another for tablets and laptops
This helps prevent confusion and makes charging more efficient.
Step 4: Maintain Your Charging Station
Keeping your station tidy and functional requires regular care.
Clean Regularly
Dust and wipe down chargers, cables, and surfaces to prevent buildup.
Inspect Cables and Chargers
Check for frayed cables or damaged plugs and replace them promptly.
Update Equipment as Needed
Technology evolves, so consider upgrading chargers or cables to support new devices.
Bonus Tips for an Efficient Charging Station
– Label cables and ports to avoid mix-ups.
– Use smart plugs or timers to manage charging times, protecting batteries.
– Incorporate a small flashlight or nightlight to spot plugs easily in low light.
– Include a small basket or drawer nearby for storing accessories like headphones or power banks.
—
By following these steps, you can create a personalized charging station that fits your lifestyle, keeps your devices ready to go, and helps maintain an orderly space. Setting up this simple but effective system can make a big difference in your daily device management.
About the Author